A clear guide to carrying medication in hand luggage: UK rules, the 100 ml exemption, doctor's letters and controlled...

A clear guide to carrying medication in hand luggage: UK rules, the 100 ml exemption, doctor's letters and controlled...

UK rules, clinical age guidance, choosing a safe piercer, first studs and the full healing timeline for a child's ear...

Sizing in inches and centimetres, teeth spacing, spring strain and materials: how to pick a claw clip that actually...

What pin-up style is, how it differs from rockabilly, and how to build the silhouette from clothes you already own.
UK airports no longer share one liquids rule. Where the 2 litre allowance applies, where 100ml still stands, and how...

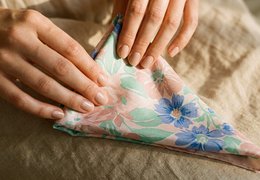




Knitting a headband is the perfect first real project: quick, useful and free of tricky shaping. You knit a simple rectangle, seam it, and you have a warm accessory that covers your ears without flattening your hair. This tutorial walks you through yarn choice, how many stitches to cast on, the stitch pattern and the finishing, with clear sizes in inches and centimetres.
To knit a headband you need one ball of yarn, a pair of needles and a tapestry needle for seaming. Pick a soft, slightly chunky yarn: an aran or bulky weight works up fast and feels cosy on the forehead. About 50 g, or a single ball, is enough for one adult headband, which makes it a great way to use leftover yarn.
For needles, stay within the range printed on the ball band. bulky yarn is beginner friendly and gives a soft, even fabric. Straight needles are fine because the band is worked flat, back and forth. A merino or wool blend stays gentle against the skin and washes well; our guide to the warmest fibres helps you compare.
The cast-on number depends on how wide you want the band and on your gauge. The reliable method is to knit a small swatch, count how many stitches you get over 4 inches, then multiply by your target width. Aim for 4 to 5 inches wide, which covers the ears comfortably on most adults.
Length is based on your head circumference, minus a couple of inches so the band grips without sliding. Here are working figures with 6 mm needles and a bulky yarn:
Treat these as a starting point. Yarn and personal tension change the result, which is exactly why the small swatch matters before you commit to the full band.

Seed stitch is a great choice for a first headband because it lies flat and looks the same on both sides. Garter and seed stitch lie flat, so you avoid curling edges and fiddly borders. Here is the sequence.
Measure the band flat, without stretching it, to check the length as you go. A band that is too tight leaves a mark, one that is too loose slips off, so wrap it around your head before you cut the yarn.
Yes, a simple headband is a genuine two hour project with the right materials. A chunky headband knits up in an evening, especially in garter stitch on 6 mm needles. To go faster, use a bulky yarn, keep the stitch simple and skip cables. Beginners often finish their first band in a single sitting, which is part of why it is such a satisfying starter make.
If you want more texture, ribbing adds stretch and grip without much extra time, while cables look impressive but slow you down. For a first quick win, stick to seed stitch or garter and save the cable version for band number two.
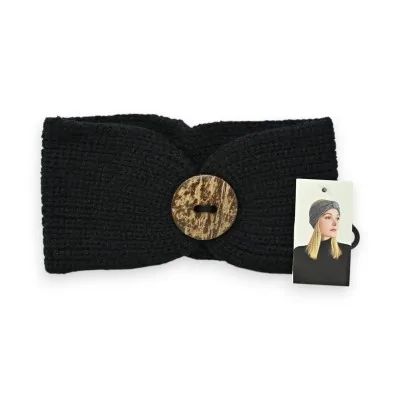
Once the rectangle is done, fold it in half with right sides together and seam the two ends edge to edge using the tapestry needle and a neat mattress stitch. Turn it right side out so the seam sits hidden inside. For a turban look, gather the seam by wrapping a few loops of yarn around the join before securing it.
Weave in the loose ends by threading them through the fabric for a couple of inches. A light steam block relaxes the stitches and evens out the band. It is ready to wear or to gift. If you enjoy small winter makes, the fingerless mitts tutorial pairs nicely, and our range of ready-made headbands lets you compare finished styles.
Cast on 18 to 24 stitches for an adult headband on 6 mm needles. The exact number depends on your gauge, so knit a small swatch, count the stitches over 4 inches and multiply by your target width, usually 4 to 5 inches. Always cast on an even number for seed or rib.
A width of 4 to 5 inches suits most adults. This covers the ears and forehead without riding up into the hair or slipping down. For a child, drop to about 3 inches; for an extra warm ear-covering style, go up to 5.5 inches for full coverage.
Absolutely, a headband is one of the best first projects. It is a flat rectangle with no shaping, worked in a single simple stitch, and it needs only one ball of yarn. Garter or seed stitch keeps the edges flat, so you can focus on an even tension rather than complex techniques.
Expect two to four hours for a garter or seed stitch band in bulky yarn on 6 mm needles. It is a one evening project, ideal for beginners or for using up leftover yarn. Textured stitches such as cables add a little time but give a more decorative result.
Seed and garter stitch are best for beginners because they lie flat and never curl. Two by two ribbing adds stretch and grips fine hair well. Stockinette gives a smooth face but needs a border, while cables bring relief and a more polished, textured look.
Mode Tendance, fashion and accessories desk. Published on 6 July 2026.
Sources: Craft Yarn Council standard yarn weight system and needle size chart; yarn and headband product sheets from our catalogue.
 How to change a watch battery yourself: a step-by-step guide
 How to style a winter coat: what to wear under each type
 How to change a watch strap: steps and mistakes to avoid
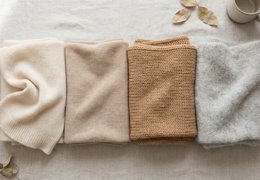 Cashmere, merino, lambswool and alpaca: the warm fibres compared
 How to Wash a Beanie Without Shrinking It
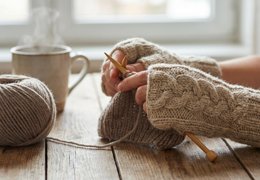 How to knit fingerless mitts: easy tutorial for beginners
 Scarf for short hair: 5 ways to wear it
 Touchscreen gloves vs warm gloves: how to choose for your daily use